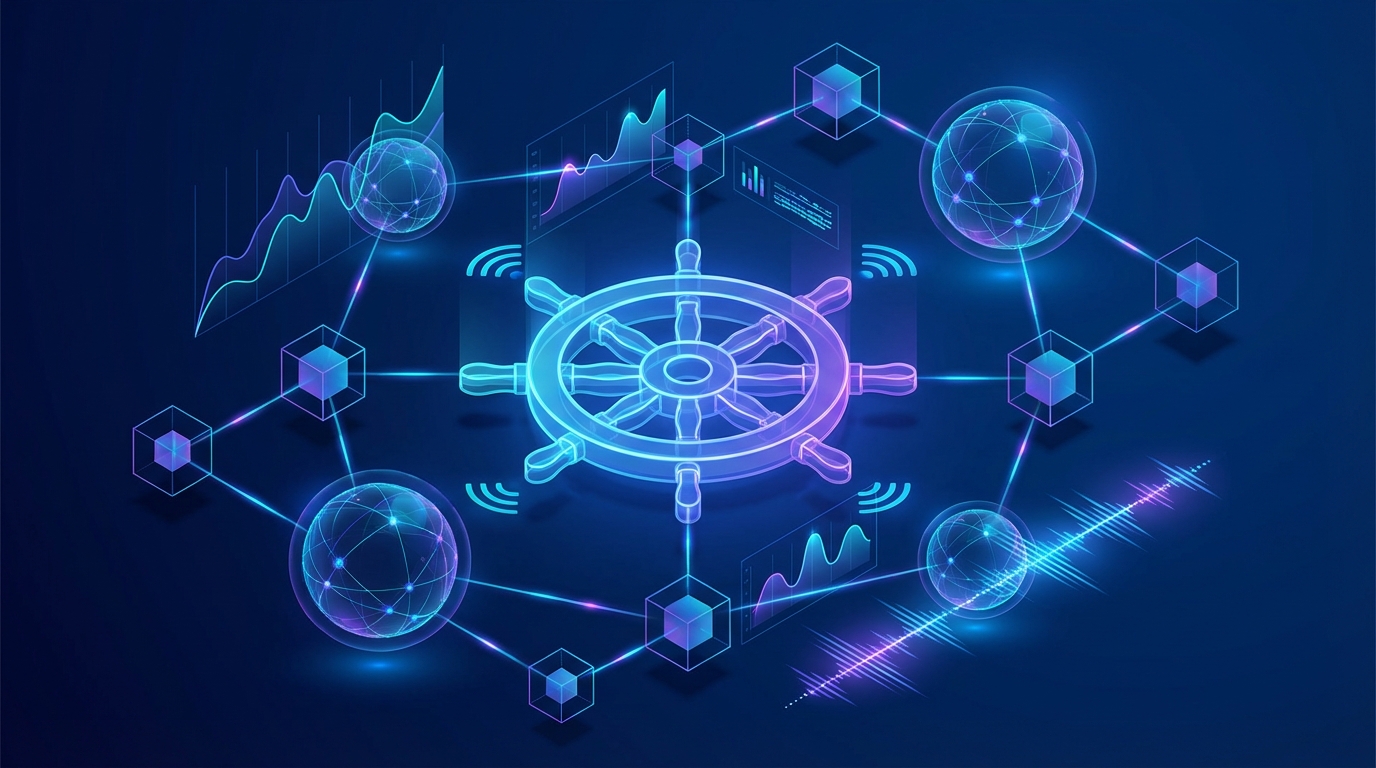
How to Overcome the Top Challenges of Kubernetes Observability
Master Kubernetes observability by learning how to correlate signals, manage high cardinality, and gain deep insights into self-healing infrastructure.
Key Takeaways
- Shift from Static to Dynamic: Kubernetes observability requires moving away from monitoring static servers to tracking ephemeral, multi-layered microservices where IPs change frequently.
- Correlation is Critical: Effective observability relies on correlating four pillars—metrics, logs, traces, and continuous profiling—using shared metadata to provide context.
- Standardization via OpenTelemetry: Standardizing on OpenTelemetry (OTel) and eBPF reduces the "observability tax" and provides vendor-neutral data collection and routing.
- Proactive Root-Cause Analysis: Moving from reactive alerts to proactive analysis requires understanding the complex interaction between the Kubernetes control plane, infrastructure, and application code.
Why is Kubernetes observability more difficult than traditional monitoring?
Kubernetes observability is significantly more challenging than traditional monitoring because it introduces dynamic abstraction layers that decouple applications from the underlying hardware, rendering traditional IP-based monitoring obsolete. In a static environment, a server has a fixed IP and hostname; in Kubernetes, pods are ephemeral, meaning they spin up and down automatically, often living for only minutes or seconds.
Definition: High Cardinality refers to data sets containing a high number of unique values. In Kubernetes, this occurs when metrics are tagged with unique labels like
pod_id,container_id, orclient_ip, leading to an explosion of data points that can overwhelm time-series databases.
The Problem of Ephemerality
Because pods are transient, the infrastructure generating logs and metrics may disappear before an engineer can investigate an issue. If logs are not offloaded instantly to a centralized backend, the data is lost when the pod terminates. This requires a shift from "pulling" data from a known server to "pushing" data from dynamic sources tagged with metadata.
Abstraction and Self-Healing
Kubernetes is a self-healing system. If a pod crashes due to a memory leak, the scheduler automatically restarts it to maintain the desired state. While this ensures availability, it often masks the underlying problem. Without deep observability into the Kubernetes Events stream (e.g., OOMKilled or CrashLoopBackOff), teams may remain unaware of instability until the crash frequency overwhelms the cluster.
What are the four essential layers of Kubernetes observability?
To provide a complete system narrative, observability must cover four distinct layers: Infrastructure, Control Plane, Kubernetes Objects, and Application Code. Missing any one of these layers creates "blind spots" where root causes can hide.
1. Infrastructure Layer
This layer concerns the physical or virtual hardware (Nodes). You must monitor resources to ensure the cluster has the capacity to run workloads.
- Focus: Node health, Disk I/O, Network throughput, CPU/Memory capacity.
- Methodology: Use the USE Method (Utilization, Saturation, Errors).
2. Control Plane Layer
The Control Plane is the "brain" of the cluster. If the Control Plane fails, the cluster cannot schedule new pods or maintain state.
- Focus: API Server latency, etcd leader election and storage size, Scheduler performance, Controller Manager health.
- Critical Metric: API Server request latency is a leading indicator of cluster health.
Definition: Control Plane is the collection of components (API Server, etcd, Scheduler, Controller Manager) that manage the global state of the cluster, making decisions about scheduling, detection, and response to cluster events.
3. Kubernetes Objects Layer
This layer tracks the state of the resources defined in your YAML configurations. It ensures the "Actual State" matches the "Desired State."
- Focus: Deployments, ReplicaSets, DaemonSets, and Persistent Volume Claims (PVCs).
- Key Indicators:
Readyvs.Desiredpod counts, restart counts, and container state reasons (e.g.,ImagePullBackOff).
4. Application Code Layer
This is the internal logic of your microservices. Even if the cluster is healthy, the code might be throwing exceptions or running slow queries.
- Focus: HTTP response codes, transaction latency, database query performance.
- Methodology: Use the RED Method (Rate, Errors, Duration) and distributed tracing.
How do you correlate disparate signals into actionable insights?
Signal correlation is achieved by attaching consistent metadata—specifically Trace IDs and Span IDs—across metrics, logs, and traces, allowing engineers to view all data related to a single request in one view. Without correlation, you have "data silos," where you can see a spike in errors (metrics) but cannot find the specific error message (logs) or the code path (traces) responsible.
implementing Context Propagation
To correlate signals, you must implement context propagation. This ensures that as a request travels through multiple microservices, it carries its unique identity (Trace ID) throughout the entire stack.
Definition: Context Propagation is the mechanism of passing metadata (like Trace IDs) from one service to another via HTTP headers (e.g.,
traceparentin W3C standards) to preserve the continuity of a transaction across distributed systems.
The Role of OpenTelemetry (OTel)
OpenTelemetry has become the industry standard for collecting and correlating this data. By using OTel SDKs and Collectors, you can standardize data formats. This allows you to jump from a high-latency metric directly to the specific trace causing the delay.
Example of Correlated Log Entry:
{
  "timestamp": "2023-10-27T10:00:00Z",
  "level": "ERROR",
  "service": "payment-service",
  "trace_id": "4bf92f3577b34da6a3ce929d0e0e4736",
  "span_id": "00f067aa0ba902b7",
  "message": "Database connection timeout"
}
In this example, the trace_id allows an observability tool to link this specific error log to the exact distributed trace and metric spike associated with the failed transaction.
How do the RED and USE methods improve troubleshooting?
The RED method is best suited for monitoring request-driven microservices and application health, while the USE method is designed for monitoring the underlying infrastructure resources. Combining both methods allows engineers to quickly distinguish between application bugs (RED) and infrastructure bottlenecks (USE).
The RED Method (Application Focus)
Use this for every microservice to understand the user experience.
- Rate: The number of requests per second.
- Errors: The number of failed requests.
- Duration: The amount of time each request takes (latency).
Scenario: If Duration spikes but Rate is stable, the issue is likely within the application code or a downstream dependency (database), not the load balancer.
The USE Method (Infrastructure Focus)
Use this for Nodes, Disks, and Networks.
- Utilization: The average time the resource was busy (e.g., CPU at 90%).
- Saturation: The degree to which the resource has extra work that it can't process (e.g., tasks queued waiting for CPU).
- Errors: The count of error events (e.g., disk read errors).
Scenario: If a service is slow (RED - High Duration), check the Node's CPU (USE - Saturation). If the CPU is throttled, the code is fine, but the infrastructure is undersized.
| Feature | RED Method | USE Method |
|---|---|---|
| Primary Target | Microservices / Applications | Infrastructure / Hardware |
| Focus | User Experience / Service Health | Resource Capacity / Health |
| Key Metrics | Rate, Errors, Duration | Utilization, Saturation, Errors |
| Answers | "Is the app working for the user?" | "Is the server overloaded?" |
Why is eBPF a game-changer for Kubernetes observability?
eBPF (Extended Berkeley Packet Filter) allows for deep kernel-level visibility with minimal performance overhead, solving the "observability tax" problem inherent in traditional agent-based monitoring. It enables "sidecar-less" observability by running sandboxed programs safely in the operating system kernel.
Definition: eBPF is a technology that allows programs to run in the Linux kernel without changing the kernel source code or loading kernel modules. In observability, it is used to capture network traffic, file system operations, and process execution safely and efficiently.
Reducing Overhead and Complexity
Traditional Kubernetes monitoring often requires a "sidecar" container in every pod to proxy traffic and collect metrics. This consumes significant CPU and memory resources. eBPF eliminates this by instrumenting the kernel directly on the node. A single eBPF agent per node can monitor all pods running on that node.
Visibility into "Invisible" Traffic
Standard application monitoring often misses network-layer issues. eBPF can capture granular network data such as:
- TCP Retransmits: Indicating poor network quality.
- Packet Drops: Identifying firewall or routing issues.
- DNS Latency: Often a hidden cause of slow application performance.
How do you transition from reactive monitoring to proactive root-cause analysis?
Proactive analysis requires moving beyond simple threshold-based alerts to anomaly detection, automated dependency mapping, and continuous profiling. Instead of waiting for a user to report downtime, engineers analyze trends to catch regressions before they cause failure.
Continuous Profiling
To identify code-level bottlenecks, implement Continuous Profiling. This technique collects performance data (CPU usage, memory allocation) from production code over time. It helps identify efficient loops, memory leaks, or lock contention that metrics and traces might miss.
Event-Driven Analysis
Utilize the Kubernetes Event stream to correlate cluster actions with performance dips.
- Monitor Events: Watch for
ImagePullBackOff,OOMKilled, orEvictedevents. - Correlate: Overlay these events on your application performance dashboards.
- Result: You might see that a latency spike coincides exactly with a pod rescheduling event, identifying the root cause immediately.
Symptom-Based Dashboards
Build dashboards that prioritize Symptoms (User pain) over Causes (System stats).
- Bad Dashboard: "CPU is at 80%." (This might be fine).
- Good Dashboard: "Checkout Error Rate is > 1%." (This is a symptom).
- Workflow: Alert on the Symptom, then drill down into the Causes (USE metrics, Traces, Profiling).
Frequently Asked Questions
What is the difference between monitoring and observability in K8s?
Monitoring tells you when something is wrong by tracking known unknowns against thresholds (e.g., "CPU is high"). Observability allows you to understand why it is happening by allowing you to interrogate the system's internal state through arbitrary queries of outputs (logs, metrics, traces).
How do I handle high cardinality in Prometheus?
To manage high cardinality, use targeted label sets and avoid using unbounded unique IDs (like user_id, session_id, or high-churn pod_ip) as metric labels. Additionally, implement recording rules to pre-calculate computationally expensive queries and drop unused high-cardinality metrics at the collector level.
Is OpenTelemetry a replacement for Prometheus?
No, OpenTelemetry (OTel) is a framework and standard for collecting and exporting telemetry data (metrics, logs, traces). Prometheus is a backend system used for storing and querying metric data. A common architecture uses OTel to collect data and export it to Prometheus for storage.
How can I monitor "hidden" self-healing actions?
You must explicitly monitor the Kubernetes Event stream. Set up alerts for high counts of specific event reasons such as RestartCount on containers, OOMKilled terminations, or frequent pod rescheduling within a specific namespace to catch instability that self-healing might otherwise mask.